Chatting with Matrix
The Zuul community uses mailing lists for long-form communication and IRC for real-time (or near real-time) chat. We are working on moving our chat platform to Matrix. You can start using Matrix now to chat with us on IRC and when we move, the transition will be seamless.
This guide will walk you through getting started with Matrix and how to use it to join communities like Zuul on IRC.
Familiar with Matrix already and want to jump straight to the room? Follow this link: https://matrix.to/#/#_oftc_#zuul:matrix.org
Why Use Matrix?
Matrix has a number of clients available including feature-rich web, desktop and mobile clients, as well as integration with the popular text-based weechat client. This provides plenty of choices based on your own preference. This guide will focus on using the Element web client.
Matrix supports persistent presence in “rooms”. Once you join a room, your homeserver will keep you connected to that room and save all of the messages sent to it, so that if you close your client and return later, you won’t miss anything. You don’t need to run your own server to use Matrix; you are welcome to use the public server at matrix.org. But if you are a member of an organization that already runs a homeserver, or you would like to run one yourself, you may do so and federate with the larger Matrix network. This guide will walk you through setting up an account on the matrix.org homeserver.
Matrix is an open (in every sense of the word) federated communication system. Because of this it’s possible to bridge the Matrix network to other networks (including IRC, slack, etc). That makes it the perfect system to use to communicate with various communities using a single interface.
Create An Account
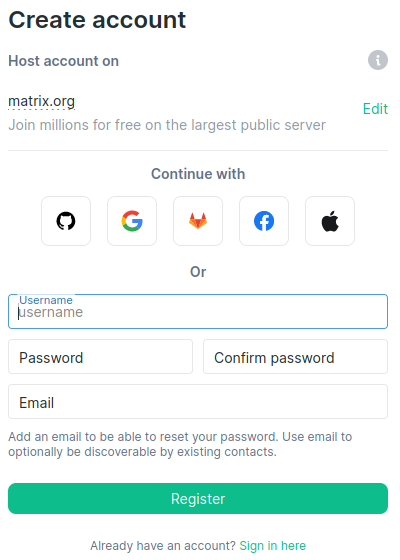
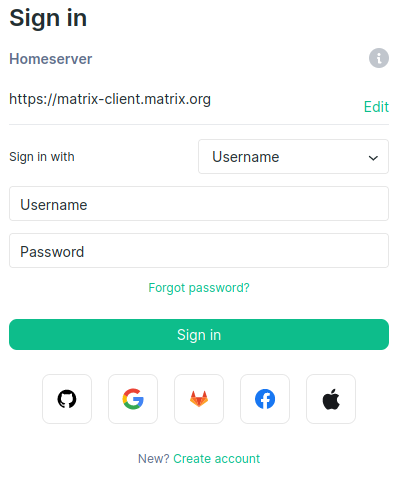
If you don’t already have an account on a Matrix homeserver, go to https://app.element.io/ to create one, then click Create Account.
You can create an account with an email address or one of the supported authentication providers.
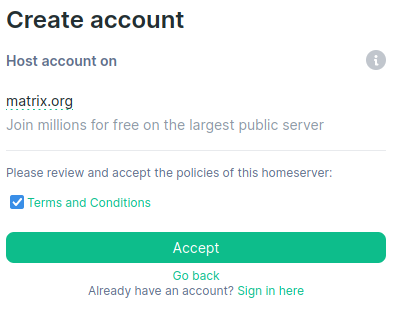
You’ll be asked to accept the terms and conditions of the service.
If you are registering an account via email, you will be prompted to verify your email address.
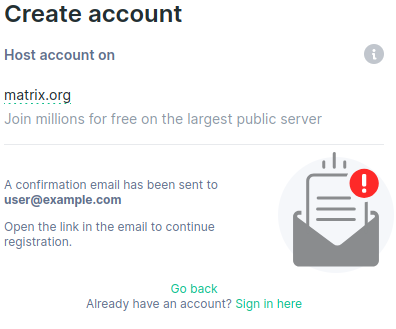
You will receive an email like this:

Once you click the link in the email, your account will be created.

You can follow the link to sign in.
Join the #zuul Channel
The #zuul channel is hosted on the OFTC IRC network, and is
accessible via a bridge run by the Matrix community. To join
#zuul, perform the following steps:
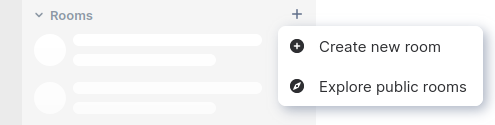
Click the plus icon next to Rooms on the left of the screen, then click Explore public rooms in the dropdown that appears.
A popup dialog will appear; below the search bar in the dialog, click
the dropdown selector labeled Matrix rooms (matrix.org) and change
it to OFTC rooms (matrix.org). Then enter #zuul into the search
box.

It will display No results for “#zuul” which is an unfortunate consequence of one of the anti-spam measures that is necessary on IRC. Disregard that and hit enter or click Join, and you will join the room.
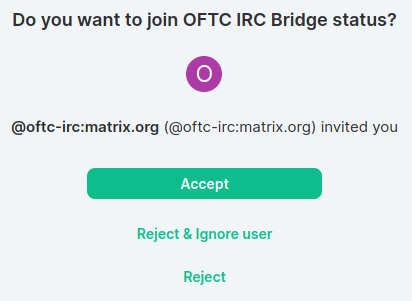
If this is your first time joining an OFTC channel, you will also receive an invitation to join the OFTC IRC Bridge status room.
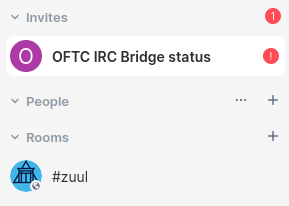
Accept the invitation.
This is a private control channel between you and the system that operates the OFTC bridge. Here you can perform some IRC commands such as changing your nickname and setting up nick registration. That is out of scope for this HOWTO, but advanced IRC users may be interested in doing so.
You may repeat this procedure for any other IRC channels on the OFTC, Freenode, or libera.chat networks.
Click the #zuul room name on the left of the screen to return the Zuul room.
Go ahead and say hi, introduce yourself, and let us know what you’re working on or any questions you have. Keep in mind that the Zuul community is world-wide and we may be away from our desks when you join. Because Matrix keeps a message history, we’ll see your message and you’ll see any responses, even if you close your browser and log in later.
Optional: Save Encryption Keys
The Matrix protocol supports end-to-end encryption. We don’t have
this enabled for the #zuul room (there’s little point as it’s a
public room), but if you start direct chats with other Matrix users,
your communication will be encrypted by default. Since it’s
end-to-end encryption, that means your encryption keys are stored on
your client, and the server has no way to decrypt those messages. But
that also means that if you sign out of your client or switch
browsers, you will lose your encryption keys along with access to any
old messages that were encrypted with them. To avoid this, you can
back up your keys to the server (in an encrypted form, of course) so
that if you log in from another session, you can restore those keys
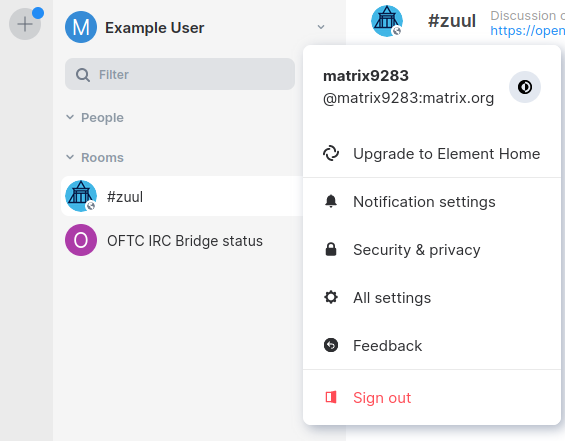
and pick up where you left off. To set this up, open the User Menu by
clicking on your name at the top left of the screen.

Click the Security & privacy menu item in the dropdown.
Click the Set up button under Encryption / Secure Backup in the dialog that pops up.
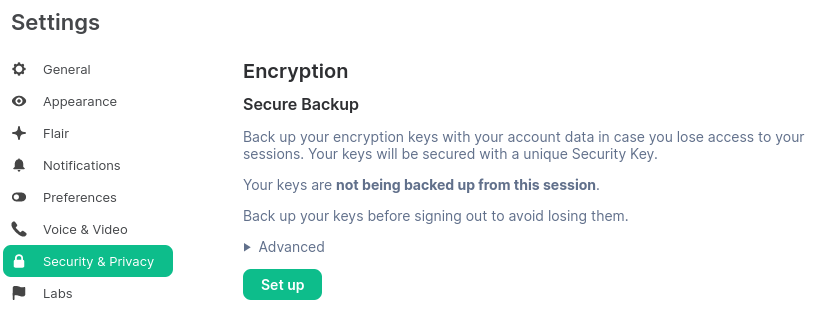
Follow the prompts to back up your encryption keys.
Optional: Register with an Identity Provider
By default, there is no public link between your Matrix account and any identifying information such as your email address. However, you may wish people to be able to find your Matrix ID by looking up your email address or phone number. We also have plans to add additional functionality to our bots if they are able to look up contributors by email addresses. If you wish to make your account discoverable in this way, you may perform the following steps to list your account in one of the public third-party identifier services. Note that these services are designed to only return results for someone who already knows your email address or phone number; they take care to ensure that it is not possible (or nearly so) to “scrape” their data sets to obtain lists of users.
To get started, open the User Menu and click All settings. Under the General section, find Email addresses. If you followed the instructions above, you should already have an email address listed here. If you don’t, enter your address, click Add, and follow the instructions to verify your address. The dialog should look like this when complete:
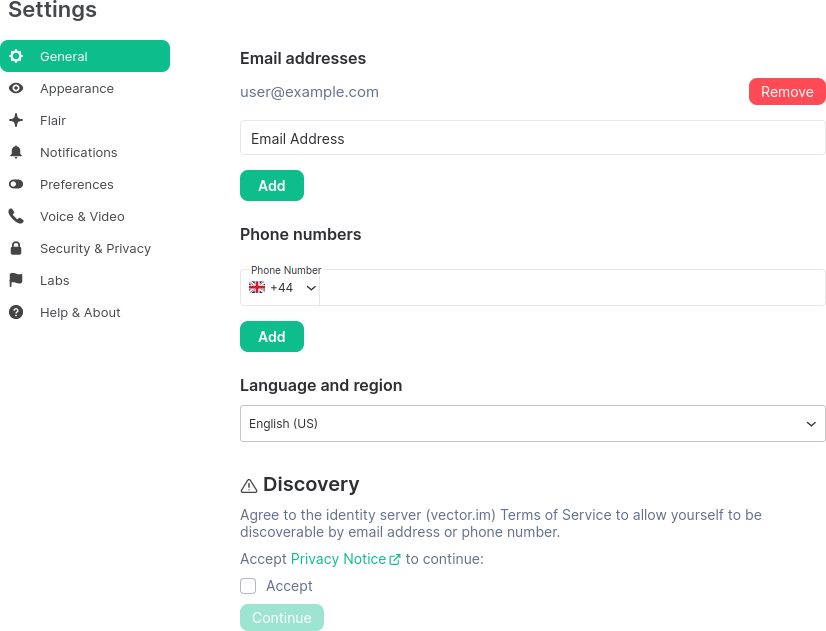
To make your account discoverable by email, scroll down to the Discovery section.
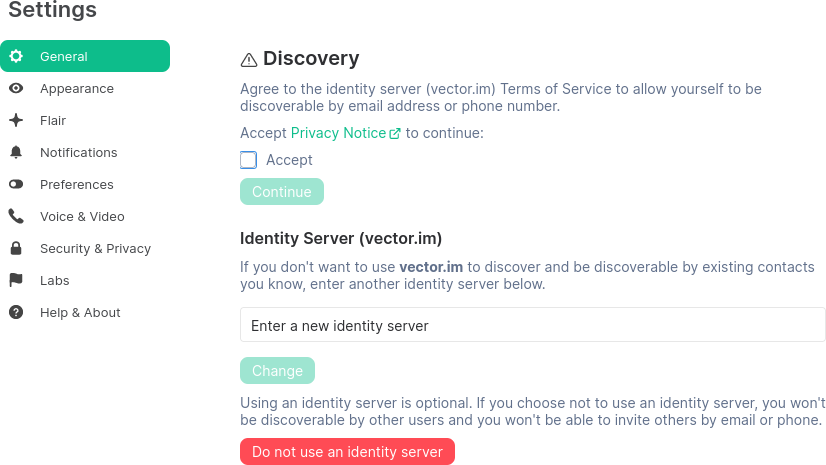
Read the privacy notice and click the checkbox next to Accept. That will enable the Continue button; click that to proceed.

The Discovery section will be replaced with the email address you registered above.
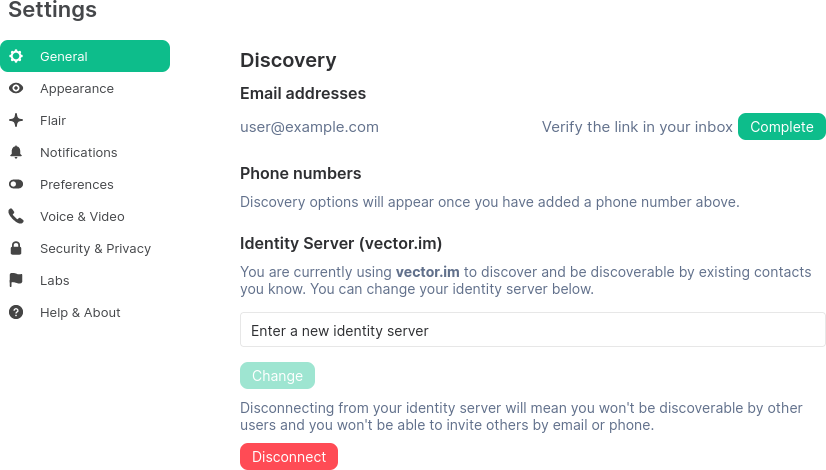
Click the Share button next to the address. The system will send an email to you, and meanwhile the dialog will show this:
You will receive an email like this:
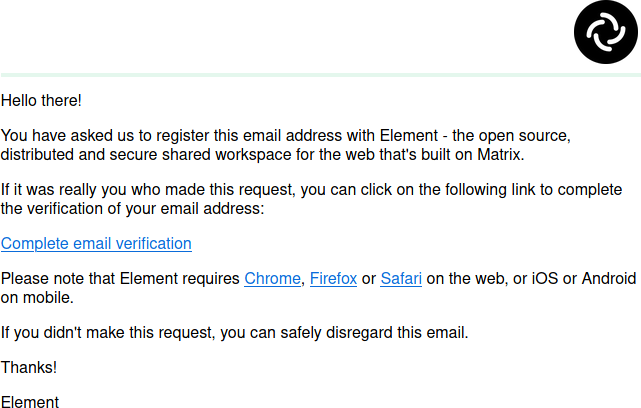
Follow the link in the email to verify it really is you making the request.
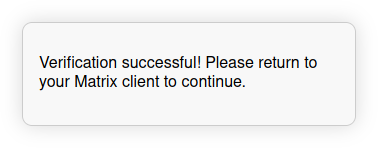
Then return to the settings page and click the Complete button.
Once everything is finished, the complete button should change to read Revoke.
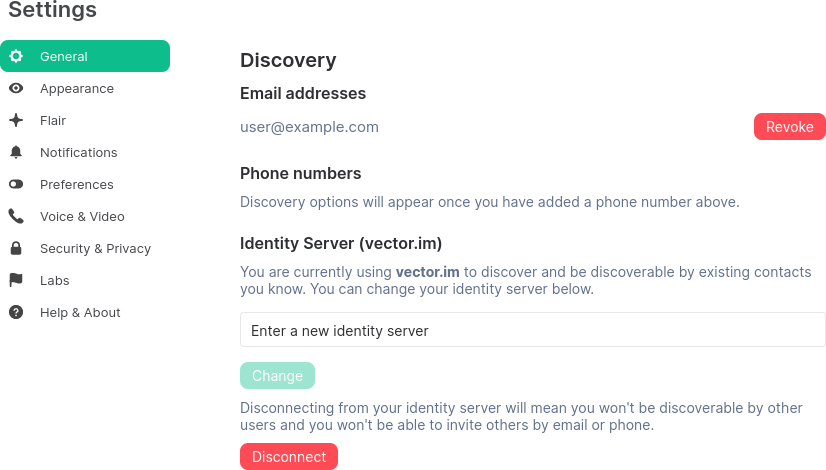
If you see that, you’re all done. If you change your mind and don’t want your account to be discoverable via email, you can click the Revoke button at any time.